Tuesday, August 28, 2012

The first annual Spinach Grow-Off

Today we planted a fall crop of spinach, and, 
since we always have to be competitive, 
we came up with the Great Spinach Grow-Off. 
The idea is to see who can grow the best spinach.
 We also recently got a rain barrel, which we have been wanting. It was full within 24 hours!

Zelda supervising the action.

Monday, August 27, 2012

Rainy Day

It has been nice to get some rain lately! The rain is good for the earth and also good for photos.
Check it out!


Thursday, August 23, 2012

Henny Penny's Day at the Spa

Chicken spa is now taking customers! The day had come to take our pullets to the fair, but they were so DIRTY! But, we came to the rescue and they were nice and purdy in time for their big debut. Wanna learn how to bathe a chicken? Then let's get started!

You are coming with me!
How to Bathe a Chicken

1. Prepare your three water buckets (wash, rinse, shine)
In the first bucket, put a squirt of dish soap. In the second bucket, leave it plain and in the last bucket put in a dash of vinegar.

Plunge, plunge :)
2. Catch your customer/victim 

3. Place your chicken in the first bucket and do a gentle plunging motion until it is completely soapy and wet. Don't forget to scrub your chickens dirty feathers.


Scrubbin'  her comb...
4. Let your chicken drip a little and
place her in the next bucket. Plunge her again and make sure   all of the soap has been washed off. 
Squeeze out a bit of the water
 then she is ready to be shined.
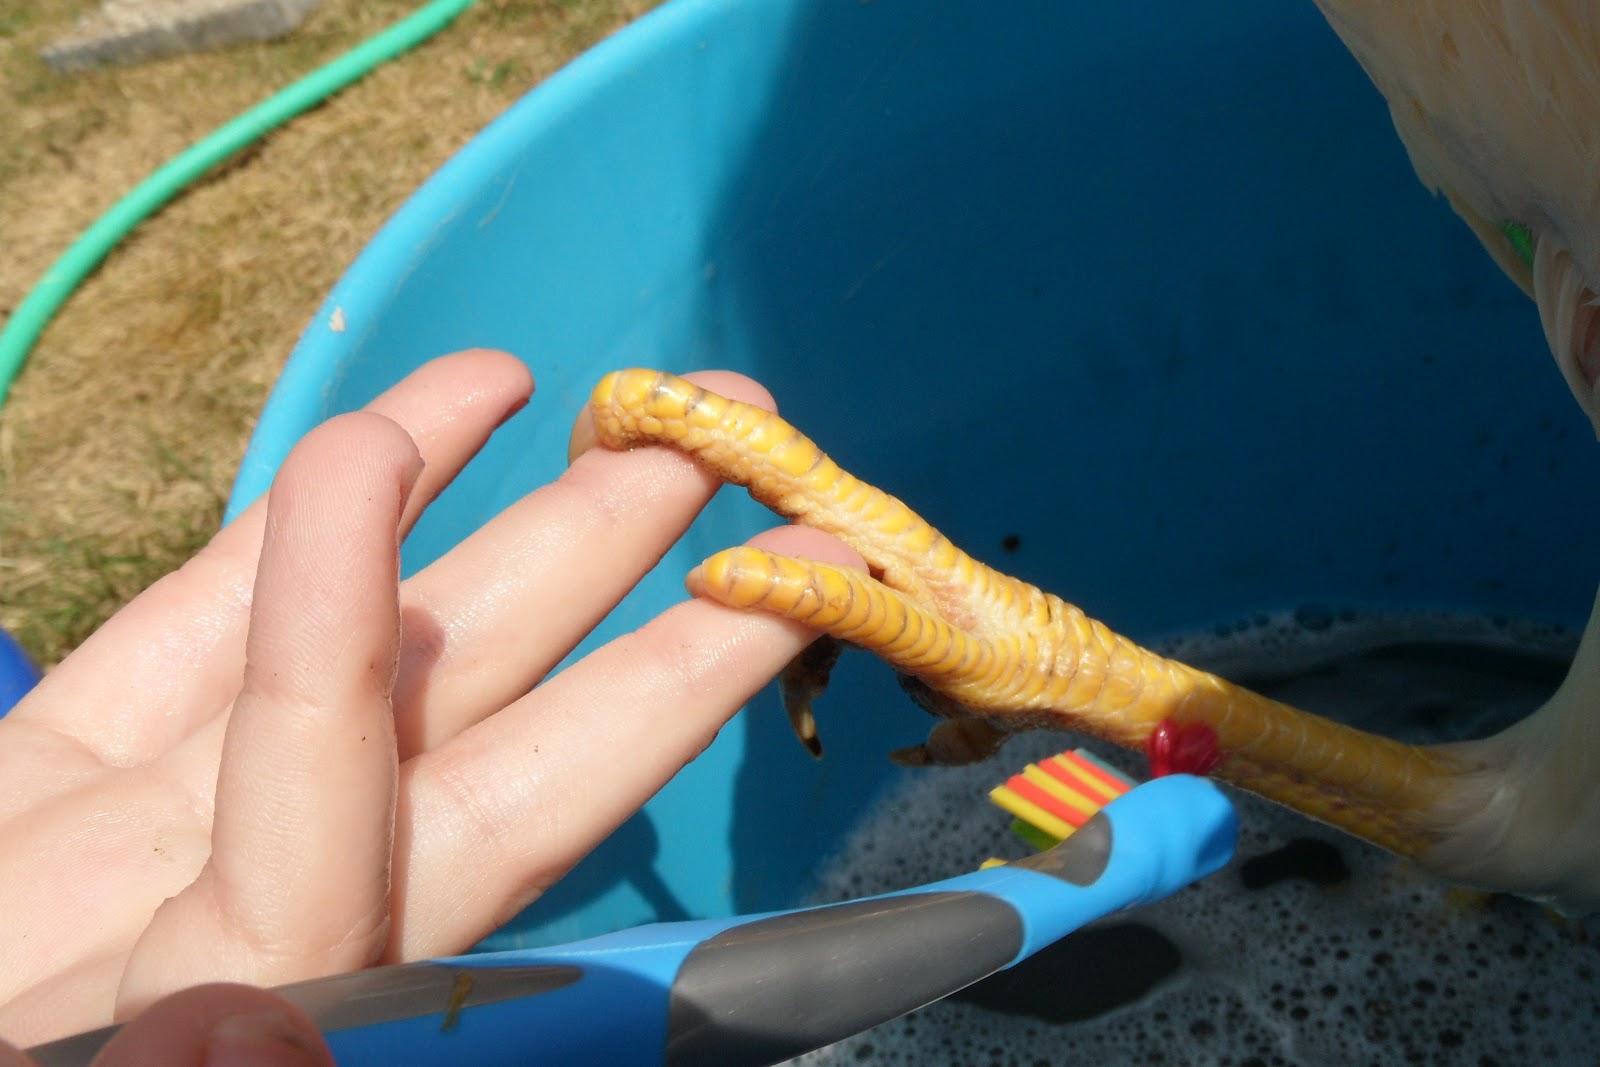
Getting a manicure...


5. After she is coated in the vinegar water, put her in a towel and pat dry.While she is drying,
All done! 
have your assistant scrub her toes and comb with a  toothbrush and soapy water.                                                                                                                


  TADA! Your chicken is ready!

Saturday, July 14, 2012

July News

Hoo-wee! July sure has been hot and dry... Nothing is happening with the "pond', but it has been happenin' in the chicken world!
We got our first white egg from one of the pullets! One of the California Whites has been earnin' its feed... :) Her first egg was about an inch and a half tall and an inch wide. Here it is!


But that's not all! We have been working the days away on our shade garden. We had lots of hostas scattered around the farm so we transplanted them into the garden. We figured we could make it look a little nicer by adding some mulch, stepping stones and river rock (about 500, all hand-picked!). It is truly a masterpiece!


Last but not least, we got a new hammock chair from South America! Our friend, Gay, gave us a hammock that her daughter had brought home from a trip. She had it hanging in her stairwell for years, since she didn't have a place for it.  Thanks, Gay!

Saturday, June 30, 2012

Dig this!

Clearing away the brush...
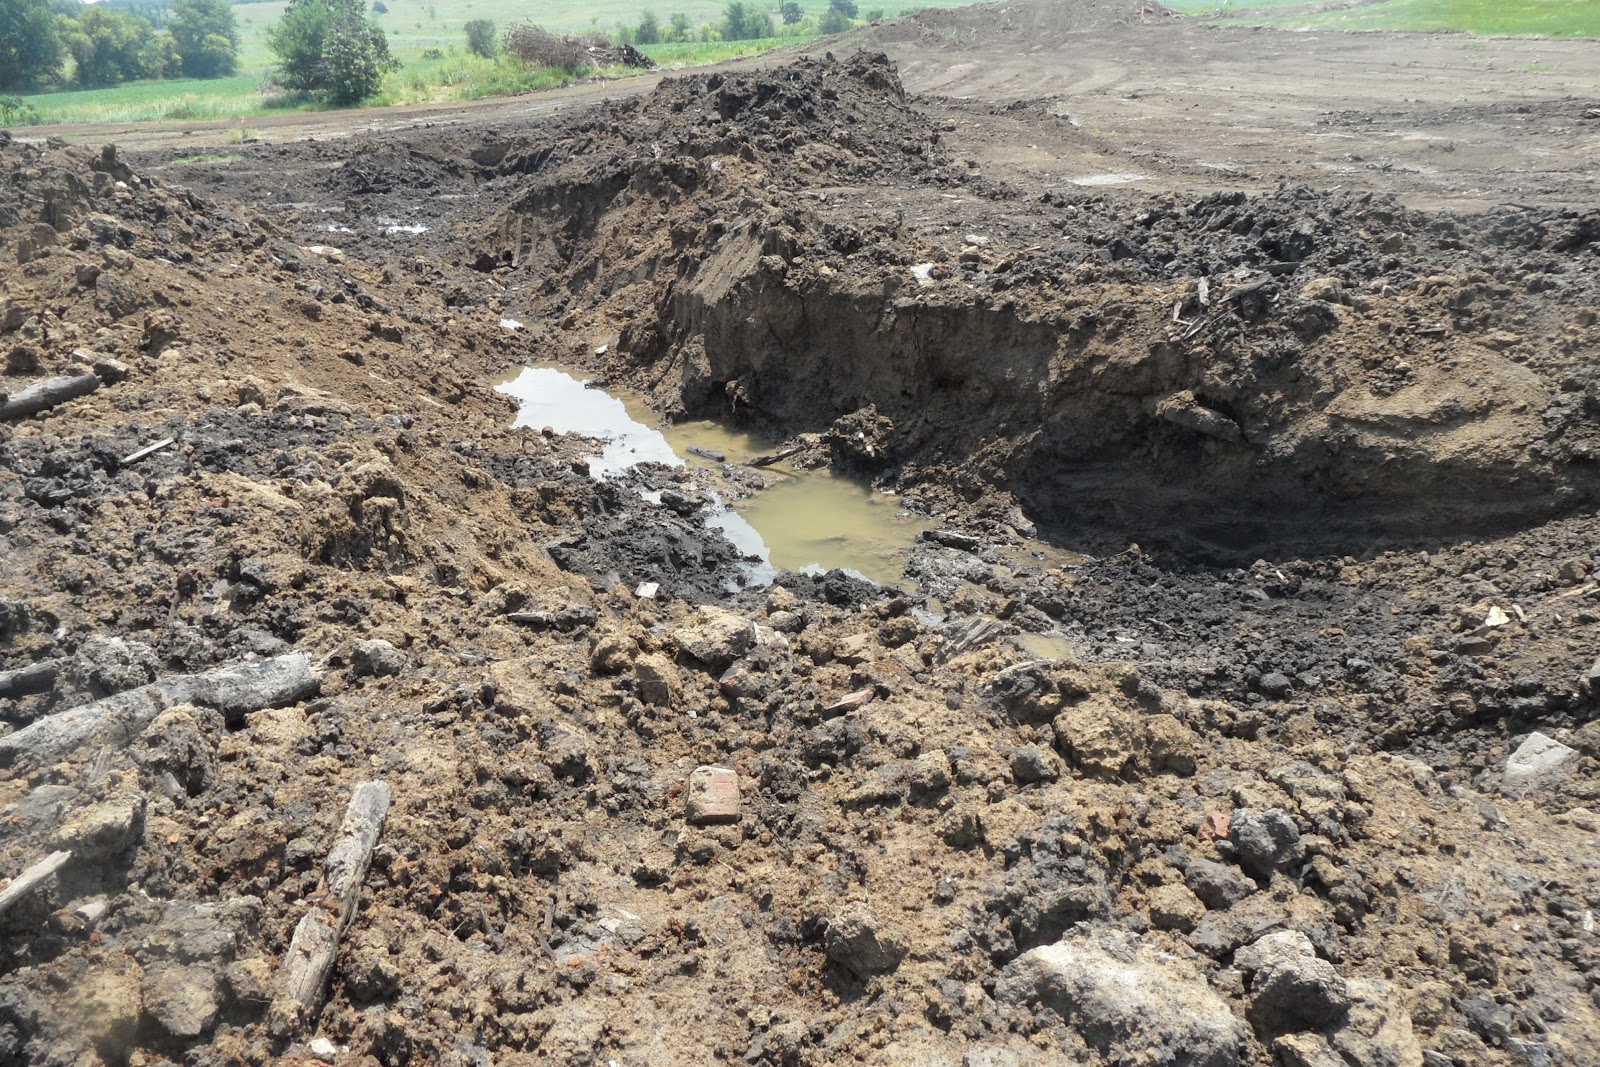
Lots of excavators, tilers and other big machines have been rumbling in and out of our driveway lately...
OUR POND IS UNDERWAY!
It's not exactly a pond yet though. Right now it's more like a big muddy hole. It has been too dry to dig lately, but with last night's storms, we should have the green light!
Once it's done, grab your floaties and come over for a dip! (maybe in a year or so...)


It makes you want to jump right in! :)

Friday, June 29, 2012

Garden Goodies

This summer we have been harvesting like madwomen!
We get large bowls full of snap peas every day! Little baby jalapeƱos for salsa every week! Onions are poppin' up like weeds!  We have an entire basil forest! Our garden is doing super well. But what are we doing with all of our goodies? Check out some of our favorite yummy recipes below:

SALSA

One 28-ounce can whole tomatoes with juice
One 14-ounce can diced tomatoes with green chilies
1/4 cup chopped onion
1 jalapeƱo  
1 clove garlic, minced
1/4 teaspoon sugar
1/4 teaspoon salt
1/4 teaspoon ground cumin
1 tablespoon lime juice
1/2 cup cilantro

Directions: 
1. Into a food processor or blender, add the ingredients in the order above.
2. Pulse until it is the chunkiness that you like then refrigerate and ENJOY! 

This is a variation of a recipe we got from the Pioneer Woman. She has a great blog that you can check out by clicking this link: http://thepioneerwoman.com/

PESTO

2 cups fresh basil, packed
1/3 cup olive oil, more if needed
3-4 cloves of garlic
1/2 cup pine nuts (optional)
1/2 cup parmesan cheese
Salt and pepper to taste

Directions:
1. Using a food processor or blender, mix basil, oil, and garlic until finely ground.
2. Add pine nuts (optional) and parmesan until it is a consistency you like. Add a few shakes of salt and pepper to taste.


Tuesday, May 8, 2012

Squirmy Wormies


Earthworms might be slimy and gross, but they are handy dandy helpers!
We recently got two large containers of red wigglers from our friend, Rhonda.  We set them up in our worm composter and they are at work right now breaking down banana peels, egg shells and coffee grounds and turning them into wonderful compost!
When we planted peas and potatoes last week, we saw lots of squirmy wormies at work in the garden too!
Did you know that worms have no gender?!  They also lack legs, eyes, ears and teeth.  They do have lips if you can figure out which end they are on!  The head end is usually darker and pointier. 
Red wigglers and earthworms are segmented worms.  Their body looks like it is made of rings. Each segment has four grippy bristles on the underside to help them move.
Since they have no eyes or ears, they have cells in their skin that are sensitive to light, vibration and touch.  When a bird or mole tries to eat them, they insert their bristles into the ground to try to win the tug of war.
Sometimes in the battle they get torn in two, but never fear! The mighty earthworm is able to grow a new tail!
Thanks to worms, our soil is rich, aerated and healthy – perfect for little seedlings!